You may not copy my instructions and use to make your own slippers - if you wish to share, please send a link to this page. You may make up as many slippers as you wish - but do not sell them, or the pattern, or claim it as your own.
Chain 7
Row 1: 3 sc in second sc from hook, sc to end, work another 2sc in end sc. Continue around the corner sc in each sc to end, slip to join.
Row 2 - 8: continue around, increase on one side only by working 3sc into end sc.
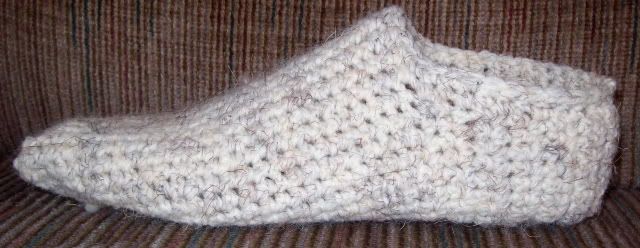
(continue till piece can cap over your toes - my 8 rows covers mine!)
Row 9 - 26: sc around once in each sc.
(piece should now cover your foot - add more rows if its short for you or deduct if its too long)
While you have the piece on your foot, mark the 8 stitches on top of your foot
Row 27 - 37: sc back and forth (not working the top stitches you marked)
Do not chain one on turn, once you turn, sc in that same stitch at the very start of the row.
Mark the center 8 stitches on the piece just worked.
Row 38: sc across till the 8 you marked, you will sc decrease over these, then sc to end.
Mark the center 8 stitches on the piece just worked.
Row 39: sc across till the 8 you marked, you will sc decrease over these, then sc to end.
Row 40: sc
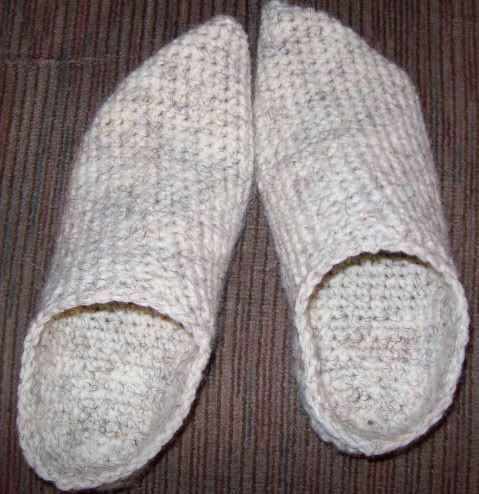
FINISHING:
Without binding off, continue to sc around the opening of the slipper.
Work 2 rows around in sc (you will cross over the gap at the heel twice) Bind off
leaving a long enough tail to whip stitch the back heel closed.
No comments:
Post a Comment